Weekend Chef here, with a project idea that we wanted to share with you. We have tried for years to grow our own veggies at our house with very little success. Every spring for the past 5 or 6 years, we have bought seeds and grow kits and pots and potting soil and…well that’s about it. Our seeds sprout and we plant them outside on the deck in nice big plastic pots. We are rewarded with a few runt tomatoes, sad peppers, and mini zucchini and then winter comes and we put everything in the shed. Meanwhile, we watch longingly at my dad harvest an abundance of all that he chooses to grow with ease. What does he do that’s so great? Well, it turns out that the homemade garden boxes make all the difference (or so we hope). This spring, the we’re stealing his idea and building some of the boxes for ourselves. Game on!
Credit goes to this YouTube channel GardenFrugal for the step-by-step instructions of building these things. The host, Clint, shares his ideas in a down-home video that is way more informative than entertaining. But education is what we needed. So here’s our pictures and story of building the three identical garden boxes that hopefully will allow us to give away bags of extra vegetables over the course of the next few months.
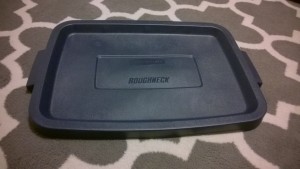
The materials can be found on the cheap. Per Clint’s specific instructions, we bought Rubbermaid “Roughneck” storage tubs in the 18 gallon size for $7.97 each at our local WallyMart. These were the most expensive parts and the total for each box probably came to $13 plus plants and dirt. Ours are dark blue. You will als0 need perforated drainage pipe and PVC pipe around 1 inch in diameter.
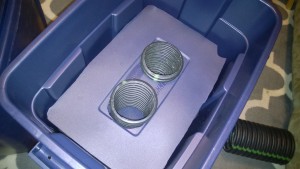
The first step is to cut the lid of the tub at the line where the middle dimple starts. This will create the reinforcing edge of the tub and will allow you to add a protective layer over your dirt with plastic or burlap (clipped in with this edge piece). Here is what this looks like so far:
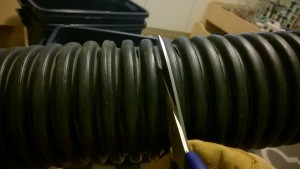
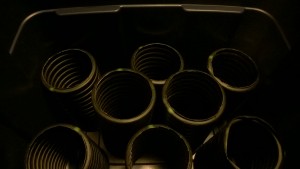
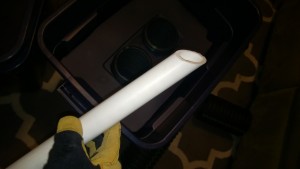
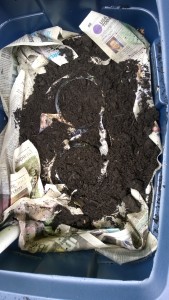
Next, the drainage pipe needs to be cut to act as the support for the bottom of the tub. Each tub will need 6 pieces cut evenly (I cut ours at 12 ribs). The pipe is actually really easy to cut with scissors as the plastic strong but thin. Use a piece of cut pipe as a template for two holes in the lid piece that we cut earlier. Draw the circles with a marker and cut out the holes. Also cut a notch out of the corner for the PVC water fill pipe.Make two slightly longer pipe pieces (15 ribs each) that will go into the lid and get filled with dirt. At this point, I added a layer of newspaper and this will help to keep the dirt from falling into the gaps. One last step here, drill a small (I did 1/4″) hole a few inches below the dirt line on the side of the tub. This will keep your system from getting flooded. Lastly, the PVC pipe needs to get cut at 45 degrees on one end and flat on the other. The angled cut goes on the bottom to keep the pipe from getting stuck to the bottom of the tub.
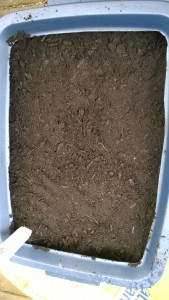
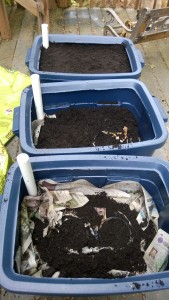
Now it’s dirt time! Fill the longer ribbed pipes with dirt and pack it down. These will act as wicks to draw moisture up to the plants. Then fill the top portion of the tub with dirt or potting mix within a few inches of the top and fill the lower section with water until the drain hole starts leaking. Go ahead and plant the fruits and vegetable of your choice. This year, we decided not to start with seeds and bought already-growing plants: yellow peppers, tomatoes, strawberries, and zucchini.
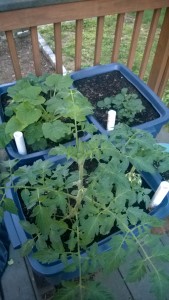
Everything seems to be working so far. The top photo was taken yesterday, 3 weeks after planting, but we will report back once edible things start growing. To be continued…


this is genius! I’m overwhelmed with weeds, and it’s only June. Love your idea!