
I am a very low maintenance girl. I can count on one hand the number of times that I’ve gotten a professional manicure. My nine-year-old daughter has probably gotten more manicures than I have, since my mom sometimes takes her for some granddaughter bonding time. I do love nail polish though (sidenote: possible dream job is coming up with the nail polish color names!). I can paint my nails pretty well on my own. However, the Weekend Chef will often paint my nails while we catch up on Netflix (sidenote: sadly, this is our married with kids, weeknight bonding time)!
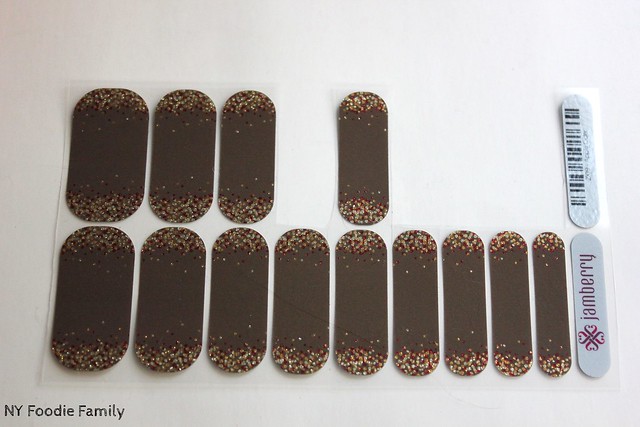
I had heard of Jamberry nail wraps but had never tried them until now. I actually won the Apple Cider Jamberry nail wraps pictured below from a giveaway that Della hosted along with Jamberry consultant Becky. I loved this design and received many compliments! (Please note that the below picture was taken after the nail wraps had been applied to my nails – thus the missing wraps!)
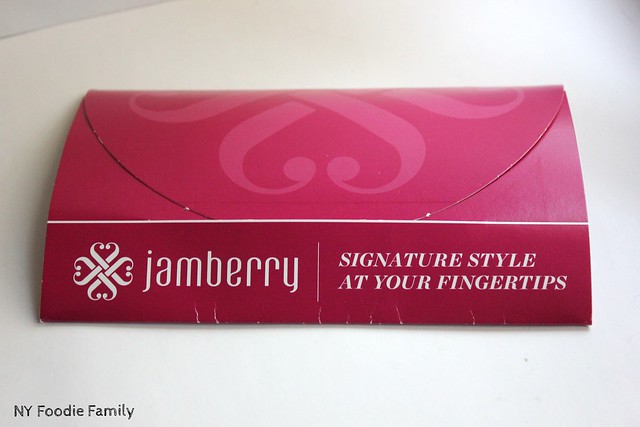
The wraps came in a pretty pink envelope along with a set of directions for applying and removing the wraps.
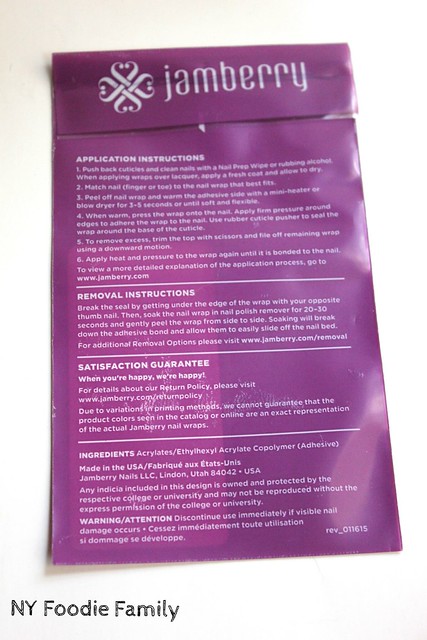
I like that you receive a variety of sizes, so you can pick the wrap that best fits the size of your fingers. There is also enough wraps for at least two applications. I believe there’s definitely a learning curve to applying the nail wraps. Yes, the Weekend Chef applied these for me. After choosing the correct size for my nail, he cut the strip in two pieces (for matching fingers on each hand), peeled the backing, applied the wrap to my nail, used the hair dryer to help adhere and soften the wrap to my nail and then trimmed the excess with nail clippers. He then filed the edges smooth with a nail file. He found this process easier than painting my nails but it still took about a half hour this first time to apply the wraps. He tells me that he can apply the next set much quicker now that he knows what he’s doing.
So, here is picture of the nail wraps after application. You can see on my middle finger there’s a little piece of wrap hanging off that needed to be filed down.
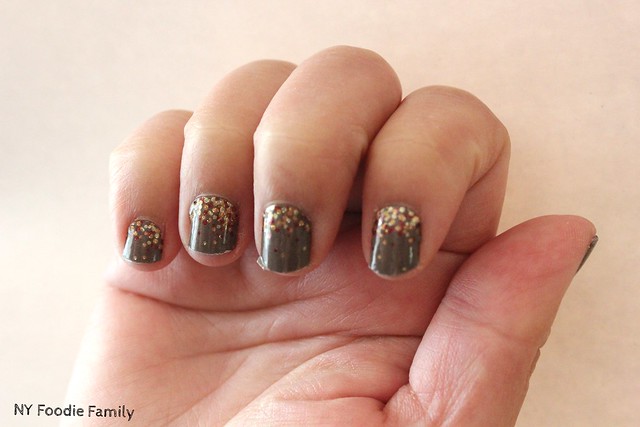
And here’s a picture of the nail wraps nine days after applying the nail wraps (please disregard my dried out, paper cut-ridden fingers!). There was some nail growth and although hard to tell from the photo, the wraps were looking a little ragged.

Removing the wraps were really easy. I stuck each finger in a capful of nail polish remover for approximately 25 seconds and then wiped them off with a paper towel. There was some adhesive residue that I removed with a cotton ball doused in nail polish remover.
Overall, I am a fan of Jamberry nail wraps. I loved the color and design of the Apple Cider wraps. These would be especially nice for glittery designs since glitter nail polish is such a beast to take off. It appears that most nail wraps are $15 per sheet. However, there is usually some sort of sale or deal going on. Since I can get a bottle of nail polish a lot cheaper, nail wraps are not something that I’d use often. However, after trying them now, these are a product that I would use again, most likely for a special occasion!
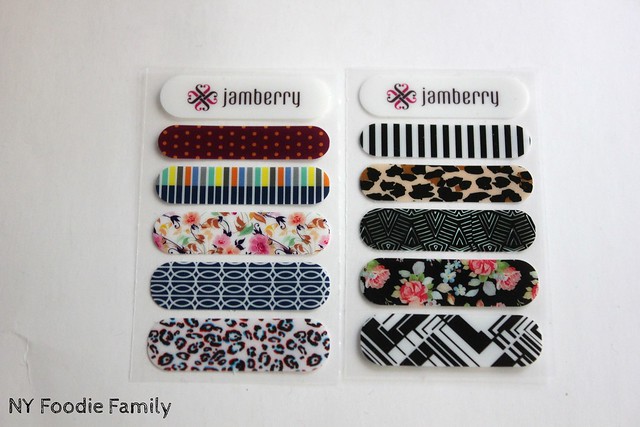
Becky was nice enough to include some samples of other Jamberry nail wrap designs. I actually plan on using these on my ring finger as an accent nail, with the other nails painted in a solid nail polish color. With all of the designs and styles, there is definitely a nailwrap for everyone!
If you would like to try Jamberry nail wraps please feel free to check out Becky’s site!
Have you tried Jamberry nail wraps? What’s your favorite design?